
How to Make Your Car Look Brand New Again (Step-by-Step Guide)
Share
Why Detailing Matters (and What Your Car Says About You)
Like it or not, your car broadcasts your standards. A spotless cabin, crisp glass, deep paint gloss, and that clean, understated scent suggest you are on top of the details. Whether you are prepping for a show, refreshing your daily driver, or just chasing that “new car” vibe, results come from using the right tools and a repeatable process—not random wipes and wishful thinking.
This guide gives you a no-nonsense, step-by-step system for restoring both interior and exterior using simple, effective tools: a car vacuum, foam cleaner, microfiber towels, and a car cleaning brush. No professional detailer needed, just method and consistency.
Tools & Materials You Will Need
Interior Essentials
- Mini or cordless car vacuum with crevice tools for seams and under seats
- Foam cleaner for carpets, mats, and fabric seats
- All-purpose interior cleaner (safe for plastics, vinyl, leatherette)
- Microfiber towels/rags (separate sets for interior and glass)
- Microfiber glass cleaning cloth for streak-free windows and mirrors
- Soft-bristle car cleaning brush for vents, buttons, trim lines
- Car perfume diffuser (with replaceable cartridges)
Exterior Essentials
- Foam cannon or foaming sprayer (pre-wash)
- pH-neutral car shampoo
- Microfiber wash mitt or plush microfiber towel
- Two buckets (one soap, one rinse) with grit guards if possible
- Drying towels (large, high-GSM microfiber or dedicated car towel)
- Quick detailer or spray wax for gloss and protection
Optional Upgrades & Style Add-Ons
- Trim restorer for faded plastics and rubber
- Wheel cleaner & wheel brush (soft, flexible to reach barrels)
- Carbon fiber sport steering wheel cover for grip and comfort
- Reflective number stickers for a subtle, functional styling touch
- Clay bar and lubricant if your paint feels rough after washing
- Tire dressing (non-sling, satin finish) for a clean OEM look
Step 1 — Tackle the Interior First
Declutter, Remove Mats, Create Space
Start by removing trash, personal items, and floor mats. You cannot clean what you cannot reach, and loose debris will only slow you down later.
Precision Vacuuming (Seats, Seams, and Tight Spots)
Use a mini or cordless car vacuum with the crevice tool. Hit:
- Seat seams and stitching (crumb traps)
- Between console and seat rails
- Door pockets and cup holders
- Under front seats and rear footwells
Slow, methodical passes work better than frantic ones. Let the tool do the work.
Foam Cleaning for Fabrics & Carpets
A foam cleaner breaks down stains without soaking the fabric. Lightly apply to high-traffic areas (driver footwell, mats, seat bases). Agitate with a soft brush if needed. Blot and lift with a clean microfiber, do not grind dirt back in.
Microfiber Wipe-Down for a Residue-Free Finish
Use a mild interior cleaner and a fresh microfiber towel for dash, console, door cards, and touch points. Work in small sections; flip the towel often. You are aiming for a clean, matte finish—no greasy sheen.
Step 2 — Glass, Panels, Vents & Dashboard
Soft-Bristle Brushing for Crevices
Dust and grime collect around vents, knobs, and seams. A soft-bristle car cleaning brush knocks it loose without marring surfaces. Follow immediately with a damp microfiber to pick up what you dislodge.
Streak-Free Glass with Proper Cloths
Skip paper towels—they lint and can leave micro-scratches. Use a microfiber glass cloth, minimal cleaner, and a two-towel method: one towel to clean, one to buff dry. Hit the inside of the windshield (the most neglected panel in the car) and all mirrors.
Finish with a Subtle, Long-Lasting Scent
Install a car perfume diffuser. Choose a restrained, premium scent. Replace cartridges every few weeks to keep the cabin feeling crisp, not overpowering.
Step 3 — Wash the Exterior Properly
Pre-Rinse & Foam to Loosen Dirt
Rinse the entire car to remove loose grit. Apply a foam cleaner with a foam cannon or sprayer and let it dwell briefly. Foam is your safe pre-wash—do not scrub dirt into the paint.
Two-Bucket Method Explained
- Bucket A: Soapy water
- Bucket B: Clean rinse water
Dip your wash mitt or microfiber towel in Bucket A, wash a small section in straight lines, rinse in Bucket B to purge dirt, then reload in Bucket A. This keeps abrasive particles out of your mitt.
Straight-Line Washing to Avoid Swirls
Circles grind dirt in all directions. Straight lines reduce visible swirls and are safer on modern clear coats. Work top-to-bottom; the dirtiest areas (rockers, rear bumper) come last.
Step 4 — Dry Without Leaving Marks
The Right Towels, The Right Technique
Never air-dry—water spots will etch. Use plush drying towels and pat or glide them across panels. Do not apply pressure; let the fibers absorb.
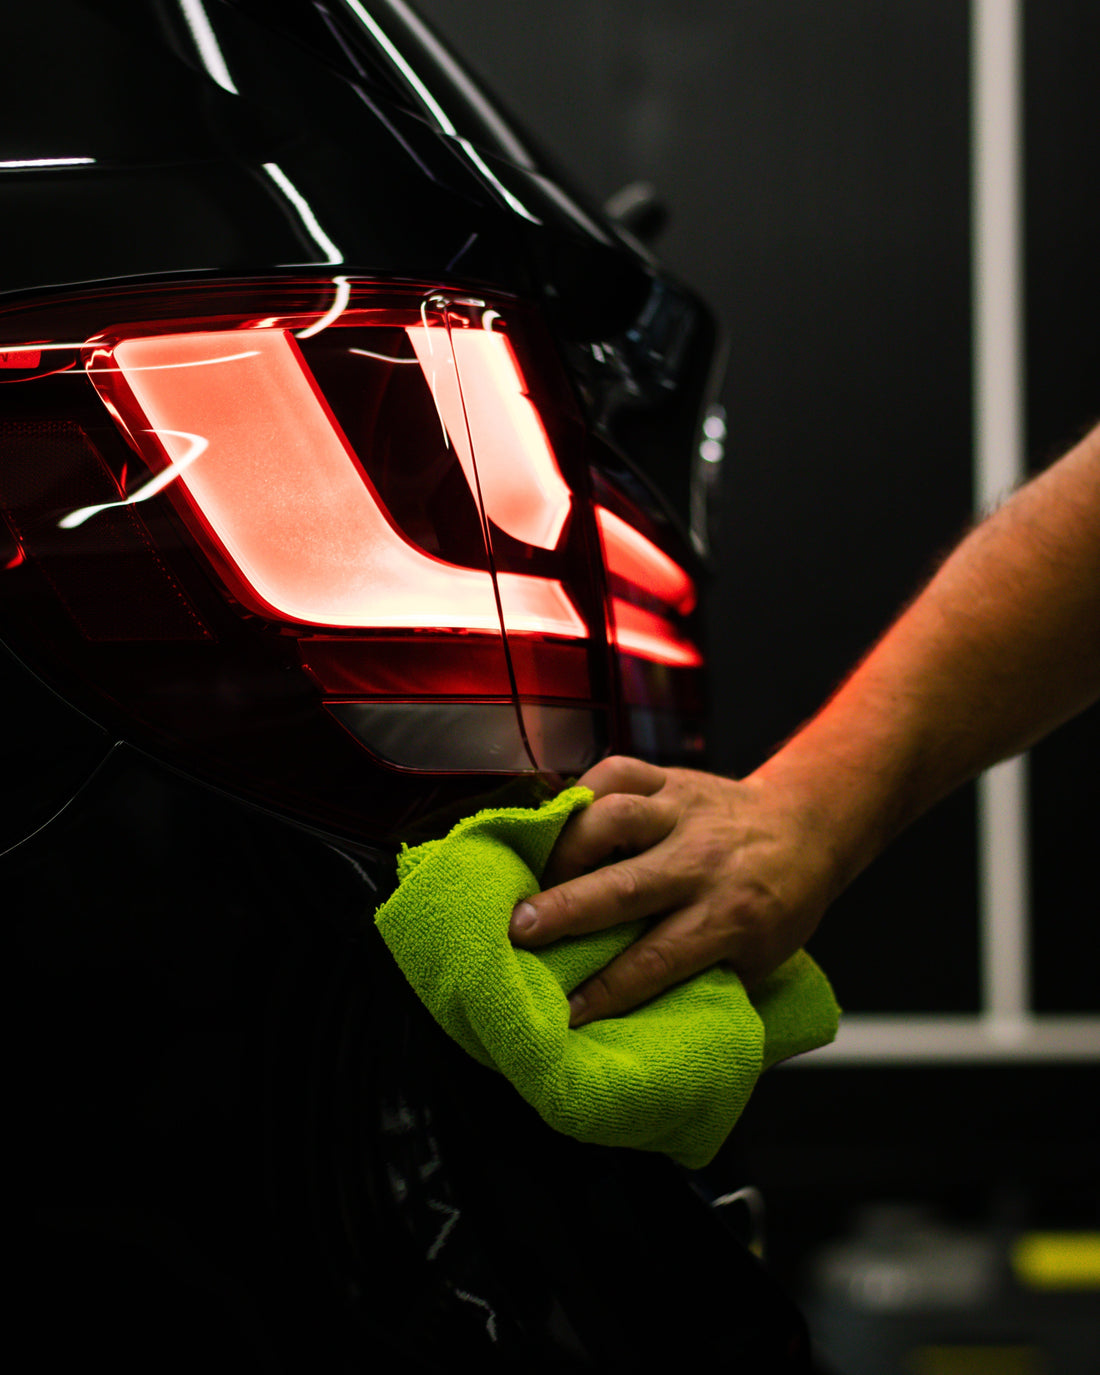
Optional: Quick Detailer or Spray Wax
With the car dry, mist a quick detailer or spray wax panel by panel. Wipe with a clean microfiber to add slickness, gloss, and a light protective layer. It is fast and noticeable.
Step 5 — Restore Trim, Wheels & Tires
Plastic and Rubber Revival with Trim Restorer
Faded trim drags the whole car down. Apply a trim restorer sparingly with a small microfiber or applicator. Even coverage, wipe excess, let it cure. Aim for natural satin, not greasy.
Wheel & Tire Cleaning Done Right
Use a dedicated wheel brush and a mild wheel cleaner. Clean spokes, barrels, and lug areas. Rinse thoroughly. Finish with a low-sling, satin tire dressing. Glossy tires look cheap; a subtle sheen reads “new, not wet.”
Step 6 — Add Style and Function
Carbon Fiber Sport Steering Wheel Cover
More grip, better control, sportier feel. Choose a snug fit so it does not shift under hand. This small change can make daily driving feel tighter and more premium.
Reflective Number Stickers for Subtle Pop
Tasteful reflective number stickers around the plate area or on accessories add night visibility and a clean custom touch. Keep it symmetrical and minimal.
Step 7 — Be Prepared: The Emergency Kit That Actually Helps
Wireless Emergency Power Inflator (Pump + Power Bank)
The most practical upgrade you can store in the trunk. A wireless emergency power inflator handles:
- Tire inflation on the roadside (set PSI and let it work)
- Jump-start assistance (model-dependent)
- Device charging as a power bank
This is the tool that turns a ruined evening into a minor detour.
Step 8 — Final Touches That Make the Difference
Fingerprints, Glass Re-Check, and Quick Revac
Walk the car in good light. Wipe fingerprints on chrome and black gloss, check interior glass for smears, and revac high-traffic mats. These last 5–10 minutes separate “clean” from “dialed.”
Scent Maintenance (Diffuser Cartridges)
Refresh diffuser cartridges every few weeks. A subtle, consistent scent beats heavy sprays that fade into stale.
Maintenance Schedule: Keep It Clean Without Wasting Time
Weekly (10–20 minutes)
- Trash out, quick vacuum of mats and front footwells
- Wipe fingerprints on screens and piano black trim
- Quick exterior rinse and dry if you had rain or a dusty week
Monthly (45–90 minutes)
- Full interior vacuum, foam clean mats and high-traffic spots
- Interior wipe-down, interior glass clean
- Proper two-bucket wash, dry, quick detailer or spray wax
Quarterly (2–3 hours)
- Clay bar if paint feels rough after washing
- Deep clean wheels and barrels, re-dress tires
- Reapply trim restorer where fading creeps back
- Consider a sealant or longer-lasting protection
Consistency beats marathon sessions. Ten solid minutes weekly means you will never dread the monthly reset.
Common Mistakes to Avoid
- Using household towels or paper towels on glass or paint. Lint, micro-scratches, frustration.
- Circular scrubbing on paint. Straight lines reduce visible defects.
- Air-drying. Water spots are stubborn, especially on dark colors.
- One towel for everything. Cross-contamination smears and scratches. Dedicate towels: interior, glass, paint, wheels.
- Over-shiny interiors and tires. High-gloss looks oily and attracts dust. Aim for clean satin.
- Skipping pre-wash foam. You will rub grit into the clear coat.
- Forgetting the inside of the windshield. It is the prime source of haze and glare at night.
- Neglecting tools. Dirty mitts and towels are sandpaper. Wash and store them properly.
Essentials From This Guide (Quick Checklist)
- Car Cleaning Brush – Sweeps dust from vents, seams, and buttons
- Car Vacuum / Mini Vacuum – Fast, precise debris removal
- Foam Cleaner – Lifts stains without soaking fabrics
- Microfiber Towels / Rags / Cloths – Safe drying and polishing
- Microfiber Glass Cleaning Cloth – Streak-free windows and mirrors
- Car Towel (High-GSM Drying Towel) – Spotless drying, no etching
- Trim Restorer – Revives faded plastics and rubber
- Wheel Brush + Mild Cleaner – Deep clean spokes and barrels
- Carbon Fiber Sport Steering Wheel Cover – Grip + comfort upgrade
- Reflective Number Stickers – Low-key style and visibility
- Wireless Emergency Power Inflator – Tire pump + power bank backup
- Car Perfume Diffuser – Long-lasting premium cabin scent
Final Thoughts
You do not need a professional detailer to get professional results—just a smart process, clean tools, and a bit of patience. Start inside where you spend your time, finish outside where everyone sees your effort, and keep maintenance light but regular. The payoff? A car that looks fresh, feels smooth, and smells clean every single drive.
Qiuven’s motto: Maintain smart. Protect every surface. Enjoy every drive.
FAQs
How often should I detail my car?
A light weekly refresh (10–20 minutes) plus a monthly full interior and exterior session keeps most daily drivers in top shape. Go deeper quarterly with clay and trim restoration.
Are microfiber towels really necessary?
Yes. They are safer on paint and glass, absorb more, and reduce lint and scratches. Keep separate sets for paint, glass, interior, and wheels.
Can I use household glass cleaner on my car windows?
Use automotive-safe glass cleaners and microfiber glass cloths. Household options can leave streaks or haze, especially on tinted windows.
What is the difference between a wash mitt and a towel for washing?
Both can work if they are plush microfiber. The key is the two-bucket method and straight-line motion. Avoid anything rough or worn.
Is a wireless emergency power inflator worth it?
Absolutely. It is compact, handles tires, can power devices, and (depending on model) assists with jump starts. It is the single most useful emergency tool you can carry.